Every year, millions of tons of organic waste end up in landfills, where it decomposes without oxygen and releases methane, a potent greenhouse gas. But what if you could turn your kitchen scraps, fallen leaves, and cardboard boxes into one of the most valuable resources for your garden? Composting is a simple, natural process that transforms organic matter into nutrient-rich humus that improves soil structure, feeds plants, and reduces your environmental footprint. If you have ever wondered how to start composting at home, this guide will walk you through every step—from choosing a system and gathering materials to maintaining a healthy pile and harvesting your first batch of black gold.
Many people assume composting requires a large backyard, expensive equipment, or a degree in soil science. In reality, anyone can compost, whether you live on a farm or in a small apartment. The key is understanding a few basic principles and finding a method that fits your space, lifestyle, and goals. With a little patience and the right balance of ingredients, you can create a thriving compost system that reduces household waste and gives your plants a free, all-natural fertilizer. This article covers everything you need to know to begin your composting journey with confidence.
Before you dig in, remember that composting is not an exact science. It is a living process driven by billions of microorganisms, insects, and fungi that break down organic matter over time. You will make mistakes, adjust your ratios, and learn what works best in your climate and setup. That is perfectly normal. The goal is to start small, observe, and enjoy the transformation of everyday waste into a dark, crumbly, earthy-smelling soil amendment that your garden will love.
Why Start Composting?
The benefits of composting extend far beyond your garden beds. Here are a few compelling reasons to start today:
- Reduce landfill waste: Food scraps and yard waste make up about 30% of what households throw away. Composting diverts this material from landfills and incinerators.
- Improve soil health: Compost adds essential nutrients, improves soil structure, increases water retention, and encourages beneficial microbial activity.
- Save money: Instead of buying commercial fertilizers and soil conditioners, you can produce your own organic amendment for free.
- Lower your carbon footprint: Composting prevents methane emissions from landfills and reduces the need for chemical fertilizers, which are energy-intensive to produce.
- Connect with nature: Composting teaches you about natural cycles, decomposition, and the incredible work of microorganisms that sustain life on Earth.
Understanding the Basics of Composting
At its core, composting is the controlled decomposition of organic matter by microorganisms. These tiny workers need four essential ingredients to thrive: carbon, nitrogen, oxygen, and water. In composting terms, carbon-rich materials are often called browns, while nitrogen-rich materials are called greens. The ratio between these two categories is the most important factor in creating a successful compost pile.
The Carbon-to-Nitrogen Ratio
A healthy compost pile typically maintains a carbon-to-nitrogen ratio of about 25 to 30 parts carbon to 1 part nitrogen. Browns provide the energy source and bulk, while greens supply the protein and nutrients that microorganisms need to grow and reproduce. Too much carbon slows decomposition, while too much nitrogen can create a slimy, smelly mess. A good rule of thumb is to add roughly two to three parts browns for every one part greens by volume.
Browns vs. Greens
Browns are dry, woody, and high in carbon. Examples include fallen leaves, straw, shredded newspaper, cardboard, sawdust, wood chips, pine needles, and corn stalks. Greens are moist, fresh, and high in nitrogen. Examples include fruit and vegetable scraps, coffee grounds, tea bags, grass clippings, fresh plant trimmings, and eggshells. Keep in mind that eggshells are not high in nitrogen but are usually included with greens because they break down quickly and add calcium.
Choosing the Right Composting System
Not all compost systems look alike. The best method for you depends on your available space, the amount of waste you generate, and how actively you want to manage the process. Here are the most common options for beginners:
Open Compost Piles
An open pile is the simplest and cheapest way to compost. You simply pile organic matter in a corner of your yard and let nature do the work. Open piles work well for large volumes of yard waste and require minimal investment. However, they can attract pests if food scraps are not properly buried, and they may take longer to decompose without regular turning. Open piles are best suited for homeowners with ample outdoor space and a steady supply of leaves and grass clippings.
Compost Bins
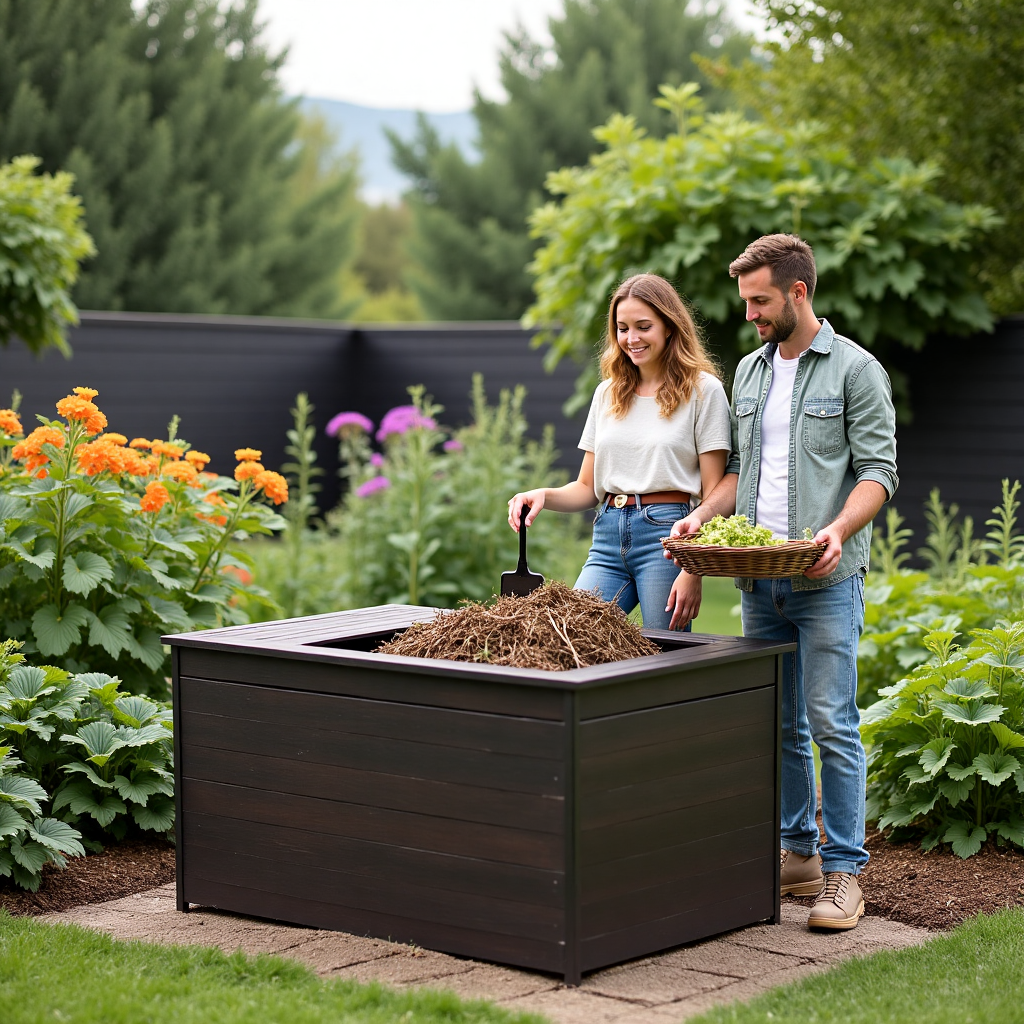
A compost bin is an enclosed container that keeps your pile tidy and helps retain heat and moisture. Bins can be purchased in many shapes and sizes, from simple plastic tumblers to multi-chamber wooden structures. They are ideal for suburban yards and smaller spaces because they contain odors and deter pests. Many bins also make turning easier, either by rotating the entire unit or by providing access doors. If you want a neat, low-fuss system, a bin is a great choice.
Vermicomposting
Vermicomposting uses red wiggler worms to break down food scraps indoors. This method is perfect for apartments, classrooms, or anyone without outdoor space. A worm bin consists of a ventilated container filled with bedding such as shredded newspaper or coconut coir, plus a colony of red wigglers. The worms eat kitchen scraps and produce castings—an incredibly rich, concentrated fertilizer. Vermicomposting requires a bit more attention to moisture, temperature, and food volume, but it is a fascinating and highly efficient way to compost indoors.
Bokashi Composting
Bokashi is an anaerobic fermentation process that uses inoculated bran to break down food waste, including meat and dairy, in a sealed bucket. While it does not produce finished compost on its own, the fermented material can be buried in soil or added to a traditional compost pile to finish decomposing. Bokashi is a great option for apartment dwellers who want to process all kitchen waste without odors or pests. It requires a steady supply of bokashi bran and two buckets for continuous operation.
What You Need to Get Started
Once you have chosen a system, gather a few basic tools and materials. You do not need expensive equipment to start composting. In most cases, you can get by with items you already own or can find for free.
- A compost bin or designated area: Choose a spot that is convenient, well-drained, and at least partially shaded to prevent the pile from drying out too quickly.
- A pitchfork or compost aerator: Turning your pile introduces oxygen and speeds up decomposition. A pitchfork works well for open piles, while a compost aerator is useful for bins.
- A kitchen scrap container: Keep a small bucket or countertop bin with a lid in your kitchen to collect fruit and vegetable scraps. Empty it into your main pile every few days.
- Brown materials: Stockpile dry leaves, shredded cardboard, or newspaper to balance out the moisture and nitrogen from your kitchen scraps.
- Green materials: Start saving fruit and vegetable peels, coffee grounds, eggshells, and grass clippings.
- Water: Your pile should be as damp as a wrung-out sponge. Keep a hose or watering can nearby.
Step-by-Step Guide to Building Your First Compost Pile
Now that you understand the basics and have your materials ready, it is time to build your first pile. Follow these steps to create a balanced, active compost system from day one.
Step 1: Choose the Perfect Location
Select a level, well-drained area that is easy to access from your kitchen and garden. Ideally, place your bin or pile on bare soil so beneficial organisms can move into the pile. If you must place it on concrete or pavement, add a shovelful of finished compost or garden soil to introduce microorganisms. Avoid low-lying areas that collect water, as waterlogged compost becomes anaerobic and smelly.
Step 2: Start with a Base Layer of Browns
Begin your pile with a four- to six-inch layer of coarse brown materials, such as small branches, twigs, or straw. This base encourages airflow from the bottom and prevents the pile from becoming compacted. If you are using a bin, make sure the bottom has drainage and ventilation holes. A solid foundation of browns also absorbs excess moisture from the greens you will add next.
Step 3: Add Your Greens
Spread a two- to three-inch layer of green materials on top of the browns. This can include fruit and vegetable scraps, coffee grounds, grass clippings, and fresh plant trimmings. Avoid dumping a massive pile of grass clippings all at once, as they can mat together and create an anaerobic layer. Instead, sprinkle them in thin layers or mix them with browns.
Step 4: Add Another Layer of Browns
Cover the greens with another layer of brown materials, about two to three inches thick. This layer helps control odors, prevents fruit flies, and keeps the carbon-to-nitrogen ratio balanced. If you have a lot of kitchen scraps, bury them in the center of the pile and cover them well with browns. Repeat the layering process until your pile is at least three feet tall and three feet wide, which is the minimum size needed to generate enough heat for efficient decomposition.
Step 5: Moisten the Pile
As you build, lightly water each layer to ensure the materials are damp but not soaking. The pile should feel like a wrung-out sponge. Too little water slows microbial activity, while too much water fills air pockets and causes anaerobic conditions. In dry climates, you may need to water your pile regularly. In rainy areas, cover the pile with a tarp to prevent it from becoming waterlogged.
Step 6: Turn and Monitor
Within a few days, the center of your pile should begin to heat up as microorganisms multiply and break down the organic matter. Use a compost thermometer to monitor the temperature; a hot pile will reach between 130°F and 150°F (54°C to 66°C). Turn the pile every one to two weeks with a pitchfork to reintroduce oxygen and mix the outer layers into the center. If the pile cools down, turning and adding more greens can restart the process.
What You Can and Cannot Compost
Knowing what to add—and what to avoid—is essential for a healthy, odor-free compost pile. In general, any organic material that was once alive can be composted, but some items are better left out of home systems because they attract pests, spread disease, or break down too slowly.
Items You Can Compost
- Fruit and vegetable scraps, peels, and cores
- Coffee grounds and paper filters
- Loose tea leaves and tea bags (remove staples if present)
- Eggshells, rinsed and crushed
- Grass clippings and fresh plant trimmings
- Dry leaves, straw, and hay
- Shredded newspaper, cardboard, and paper towels
- Sawdust and wood shavings from untreated wood
- Nut shells, except walnut shells which can be toxic to plants
- Hair, fur, and nail clippings
Items You Should Avoid
- Meat, fish, and bones: These attract rodents, raccoons, and flies, and they decompose slowly and smell badly.
- Dairy products: Cheese, milk, yogurt, and butter can create odors and attract pests.
- Greasy or oily foods: Fats and oils slow decomposition and coat materials, reducing airflow.
- Pet waste: Dog and cat feces can contain pathogens that are harmful to humans.
- Diseased or insect-infested plants: These can spread diseases and pests back into your garden.
- Weeds with mature seeds: Unless your pile reaches high enough temperatures to kill seeds, they may survive and sprout later.
- Treated wood, sawdust from treated wood, and glossy paper: These may contain chemicals that are harmful to soil life.
- Plastic, glass, metal, and synthetic materials: These do not decompose and will contaminate your finished compost.
Maintaining Your Compost Pile
A well-maintained compost pile can produce finished compost in as little as two to three months during warm weather. The key is to regularly monitor moisture, oxygen, and temperature. Here are the essential maintenance tasks for a healthy pile:
Turning the Pile
Oxygen is essential for aerobic decomposition. Without it, your pile can become anaerobic, producing foul odors and slowing the process. Turn your pile every one to two weeks using a pitchfork or compost aerator. For tumbler bins, simply rotate the bin every few days. Turning also helps distribute moisture and heat evenly, ensuring that all materials break down at a similar rate.
Managing Moisture
Your compost should be consistently damp, but not dripping wet. During dry spells, add water while turning the pile. If your pile is too wet, add more dry browns like shredded leaves or cardboard and turn it to improve airflow. A tarp can help regulate moisture in both rainy and arid climates. Remember that the moisture level directly affects the speed of decomposition, so check it regularly.
Monitoring Temperature
A hot compost pile is a sign that microorganisms are actively breaking down organic matter. While not strictly necessary, a compost thermometer helps you know when to turn the pile and whether decomposition is progressing. If the pile drops below 90°F (32°C), it may need more greens, water, or turning to reactivate. If it exceeds 160°F (71°C), it may be too hot and should be turned to release heat and prevent beneficial microbes from dying.
Balancing Browns and Greens
As you add new materials, always try to maintain the two-to-one ratio of browns to greens. If your pile starts to smell like ammonia, it has too much nitrogen and needs more browns. If it is dry and not breaking down, it likely has too much carbon and needs more greens and water. Over time, you will develop an intuition for the right balance based on how your pile looks, smells, and feels.
Troubleshooting Common Composting Problems
Even experienced composters encounter challenges. Here are some of the most common issues and how to fix them:
Bad Odors
A healthy compost pile should smell earthy and pleasant. If your pile smells like rotten eggs or garbage, it is probably too wet or contains too much nitrogen. Add dry browns, turn the pile to improve aeration, and make sure food scraps are buried under a layer of browns. Avoid adding meat, dairy, or oily foods, which are common sources of foul odors.
The Pile Is Not Heating Up
If your pile remains cold, it may be too small, too dry, or lacking in nitrogen. Ensure your pile is at least three feet cubed, add more greens or a nitrogen-rich material like grass clippings or coffee grounds, and water it thoroughly. Turning the pile can also introduce oxygen and stimulate microbial activity. In cold weather, insulate the pile with a thick layer of straw or leaves.
Pests and Flies
Fruit flies and ants are often attracted to exposed food scraps. Always bury kitchen waste in the center of the pile and cover it with browns. If rodents become a problem, avoid adding meat, dairy, and cooked food, and consider using a rodent-resistant bin with a secure lid and a solid bottom. A well-managed pile with proper moisture and turning will not attract pests.
The Pile Is Too Wet or Too Dry
A soggy pile with standing water needs more browns and better drainage. Turn the pile to fluff it up and add dry leaves, straw, or shredded cardboard. A dry, dusty pile needs water and more greens. Remember the wrung-out sponge test: when you squeeze a handful of compost, it should feel damp but release only a few drops of water.
Harvesting and Using Your Finished Compost
Finished compost is dark brown or black, crumbly, and has a rich, earthy smell. It should no longer contain recognizable food scraps or leaves, although small pieces of woody material may remain. Depending on your system and maintenance, compost can be ready in two to six months for a hot pile, or six to twelve months for a passive pile.
To harvest, stop adding new materials and let the pile cure for a few weeks. Then sift the compost through a half-inch screen to remove large unfinished pieces, which can be returned to the active pile. Use your finished compost as a soil amendment by mixing one to three inches into garden beds before planting. You can also use it as a top dressing around trees, shrubs, and perennials, or blend it with potting soil for container plants.
Compost is sometimes called “black gold” for good reason. It improves soil structure, increases water retention, supplies slow-release nutrients, and supports beneficial microorganisms that help plants resist disease and pests. Whether you are growing vegetables, flowers, or houseplants, adding compost is one of the best things you can do for your garden.
Conclusion: Start Small, Dream Big
Starting composting does not have to be complicated or overwhelming. Begin with a simple bin or pile, save your kitchen scraps, and remember the golden rule: balance browns and greens, keep the pile moist, and turn it regularly. As you gain experience, you can experiment with different systems, expand your operation, or even start vermicomposting indoors. The important thing is to take that first step.
Every apple core, coffee ground, and fallen leaf you compost is a small investment in healthier soil, a cleaner environment, and a more sustainable future. Your garden will thank you with stronger plants, richer harvests, and more vibrant blooms. So grab a pitchfork, start collecting scraps, and join the millions of people who are turning waste into garden gold—one pile at a time.